
Ready to dive into the creamiest, dreamiest queso fresco dip you’ve ever tasted? This recipe is a game-changer for your snack table, blending smooth textures with a kick of flavor that’ll have your guests coming back for more.
Why This Recipe Works
- The combination of queso fresco and cream cheese creates a perfectly balanced base that’s both rich and tangy.
- Roasted green chilies add a subtle heat that elevates the dip without overpowering it.
- It’s incredibly versatile, serving as a fantastic appetizer, snack, or even a sauce for your favorite dishes.
Ingredients
- 8 oz queso fresco, crumbled
- 8 oz cream cheese, softened
- 1/2 cup roasted green chilies, chopped
- 1/4 cup cilantro, finely chopped
- 1 tsp garlic powder
- 1/2 tsp cumin
- 1/4 cup milk (adjust for desired consistency)
Equipment Needed
- Mixing bowl
- Hand mixer or whisk
- Serving bowl
Instructions
Step 1: Combine the Cheeses
In a large mixing bowl, add the crumbled queso fresco and softened cream cheese. Use a hand mixer on medium speed to blend them together until smooth, about 2 minutes. This step ensures your dip has a creamy, lump-free base.
Step 2: Add the Flavor Boosters
Fold in the roasted green chilies, cilantro, garlic powder, and cumin. Mix until all ingredients are evenly distributed. The chilies and spices are key to giving your dip that unforgettable flavor profile.
Step 3: Adjust the Consistency
Gradually add milk, a tablespoon at a time, until the dip reaches your preferred consistency. Remember, it will thicken slightly upon chilling, so aim for a bit looser than your desired final product.
Step 4: Chill to Perfection
Cover the bowl with plastic wrap and refrigerate for at least 1 hour before serving. This resting period allows the flavors to meld together beautifully.
Step 5: Serve and Enjoy
Transfer the dip to a serving bowl and pair with your favorite chips, veggies, or bread. Watch as it disappears in minutes!
Tips and Tricks
For an extra layer of flavor, consider roasting your own green chilies instead of using canned. Simply char them over an open flame or under a broiler until blackened, then steam in a bag before peeling and chopping. This method brings out a deeper, smokier flavor that canned chilies can’t match. Additionally, if you’re serving a crowd, doubling the recipe is a breeze, and it can be made a day ahead to save time. Lastly, for a smoother dip, you can blend all the ingredients in a food processor until silky.
Recipe Variations
- Spicy Version: Add diced jalapeños or a dash of hot sauce to turn up the heat.
- Herb Lover’s Twist: Mix in fresh dill or parsley for a refreshing herbal note.
- Smoky Chipotle: Substitute the green chilies with chipotle peppers in adobo for a smoky depth.
- Vegan Alternative: Use vegan cream cheese and a plant-based queso fresco substitute to cater to dietary restrictions.
Frequently Asked Questions
Can I use a different type of cheese?
Absolutely! While queso fresco is traditional for its mild and slightly tangy flavor, you can experiment with other cheeses like cotija for a saltier kick or Monterey Jack for extra meltiness. Just keep in mind that the texture and flavor profile will vary.
How long can I store the dip?
Stored in an airtight container in the refrigerator, your queso fresco dip will stay fresh for up to 3 days. Be sure to give it a good stir before serving again, as separation may occur.
Can I make this dip ahead of time?
Yes, and it’s actually recommended! Making the dip a few hours or even a day in advance allows the flavors to deepen and meld together, resulting in a more cohesive and delicious dip.
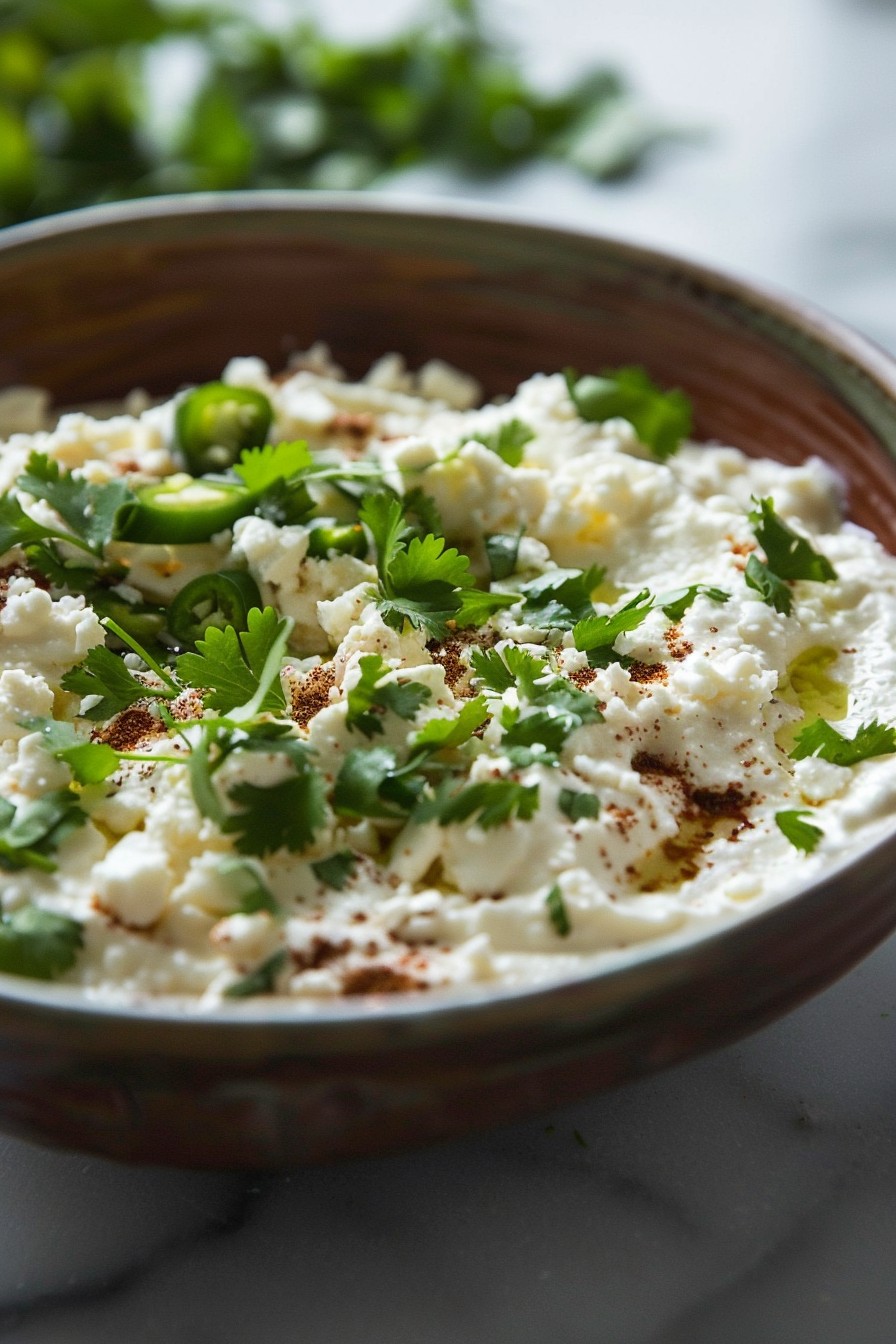
Summary
This queso fresco dip is the perfect blend of creamy, tangy, and slightly spicy, making it a hit at any gathering. Easy to make and even easier to love, it’s sure to become a staple in your recipe collection.