
You’re about to embark on a creamy, dreamy journey to homemade ice cream heaven. This custard-based ice cream is rich, velvety, and utterly irresistible. Let’s churn up some magic!
Why This Recipe Works
- The custard base ensures a luxuriously smooth texture that’s hard to resist.
- Using heavy cream and whole milk strikes the perfect balance between richness and lightness.
- Egg yolks act as a natural thickener, giving the ice cream its signature creamy consistency.
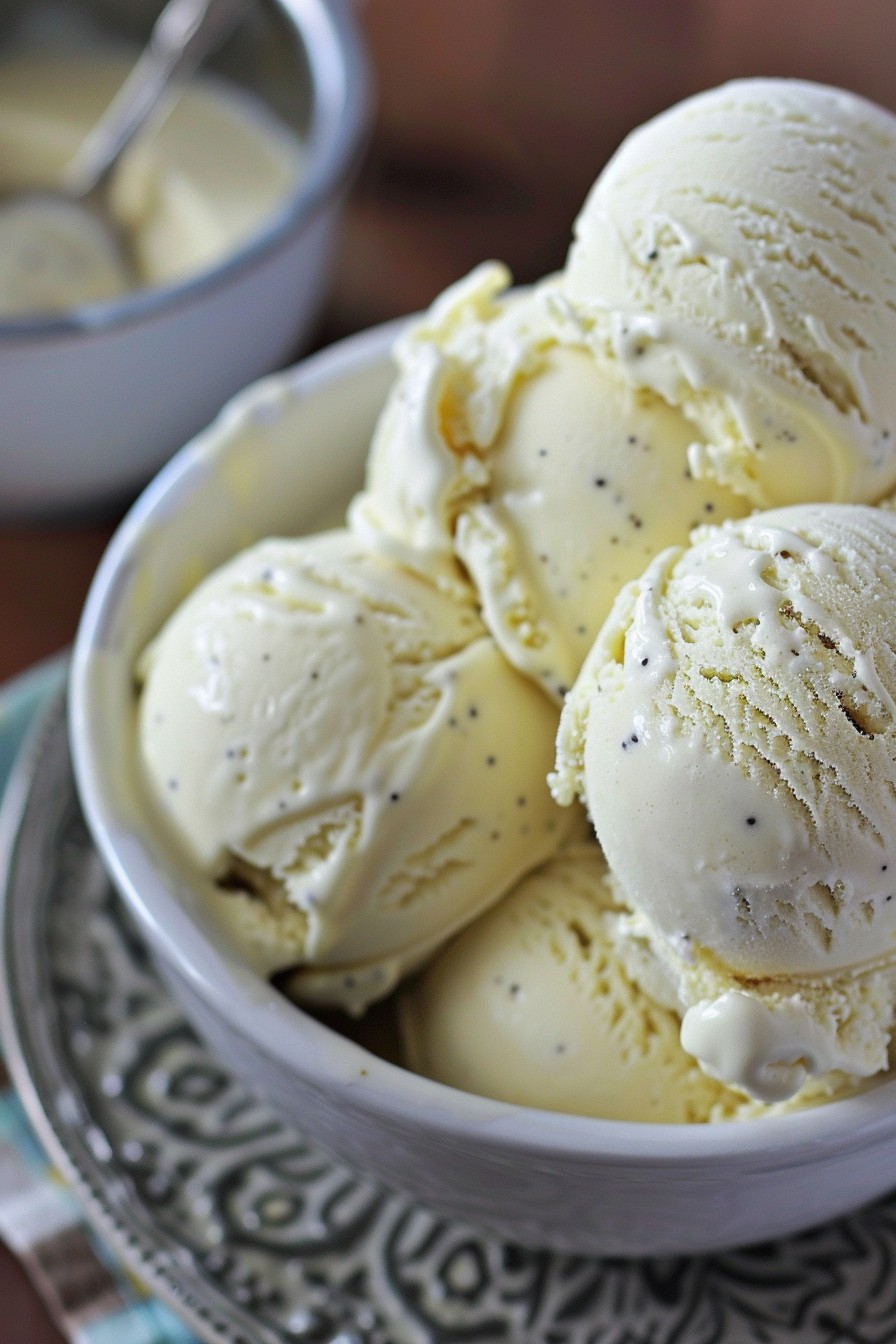
- Vanilla extract adds a classic, aromatic flavor that complements any topping or mix-in.
- Chilling the mixture before churning enhances the flavors and improves the final texture.
Ingredients
- 2 cups heavy cream
- 1 cup whole milk
- 3/4 cup granulated sugar
- 6 large egg yolks
- 1 teaspoon vanilla extract
- 1/4 teaspoon salt
Equipment Needed
- Medium saucepan
- Whisk
- Mixing bowls
- Fine-mesh strainer
- Ice cream maker
- Freezer-safe container
Instructions
Step 1: Heat the Cream and Milk
In a medium saucepan over medium heat, combine the heavy cream and whole milk. Heat the mixture until it’s warm but not boiling, about 5 minutes. Stir occasionally to prevent a skin from forming on the surface.
Step 2: Whisk the Egg Yolks and Sugar
In a separate bowl, whisk together the egg yolks and granulated sugar until the mixture is pale and slightly thickened, about 2 minutes. This step is crucial for creating a smooth custard base.
Step 3: Temper the Egg Mixture
Slowly pour the warm cream mixture into the egg yolks, whisking constantly to prevent the eggs from scrambling. Once combined, return the mixture to the saucepan and cook over low heat, stirring constantly, until it thickens enough to coat the back of a spoon, about 5-7 minutes.
Step 4: Strain and Chill
Strain the custard through a fine-mesh strainer into a clean bowl to remove any lumps. Stir in the vanilla extract and salt. Cover the bowl with plastic wrap, pressing it directly onto the surface of the custard to prevent a skin from forming. Chill in the refrigerator for at least 4 hours, or overnight.
Step 5: Churn the Ice Cream
Pour the chilled custard into your ice cream maker and churn according to the manufacturer’s instructions, usually about 20-25 minutes. Transfer the ice cream to a freezer-safe container and freeze until firm, about 4 hours.
Tips and Tricks
For an extra smooth texture, you can blend the custard with an immersion blender before chilling. If you’re in a hurry, placing the custard in an ice bath can speed up the chilling process. Always use fresh, high-quality vanilla extract for the best flavor. To prevent ice crystals, press a piece of parchment paper directly onto the surface of the ice cream before freezing. For a richer flavor, consider toasting the sugar before using it in the recipe.
Recipe Variations
- Chocolate Lover’s Dream: Add 1/2 cup cocoa powder to the custard before chilling.
- Berry Bliss: Swirl in 1 cup of your favorite berry puree after churning.
- Coffee Craze: Dissolve 2 tablespoons instant espresso powder into the warm cream mixture.
- Nutty Delight: Fold in 1/2 cup chopped toasted nuts after churning.
- Cookie Dough Delight: Mix in 1 cup of cookie dough pieces during the last few minutes of churning.
Frequently Asked Questions
Can I make this recipe without an ice cream maker?
Yes, you can! After chilling the custard, pour it into a shallow dish and freeze. Every 30 minutes, stir the mixture vigorously to break up ice crystals until it’s firm, about 4-5 hours. This method requires more effort but yields a similar texture.
How long can I store homemade ice cream?
Homemade ice cream is best enjoyed within 2 weeks. Store it in an airtight container with parchment paper pressed against the surface to prevent freezer burn and ice crystals.
Can I use low-fat milk instead of whole milk?
While you can substitute low-fat milk, the ice cream won’t be as creamy or rich. Whole milk contributes to the luxurious texture that makes this recipe special.
Summary
This custard-based ice cream recipe is a foolproof way to create a creamy, dreamy dessert that’s customizable to your taste. With a few simple ingredients and some patience, you’ll have a homemade treat that’s sure to impress.