
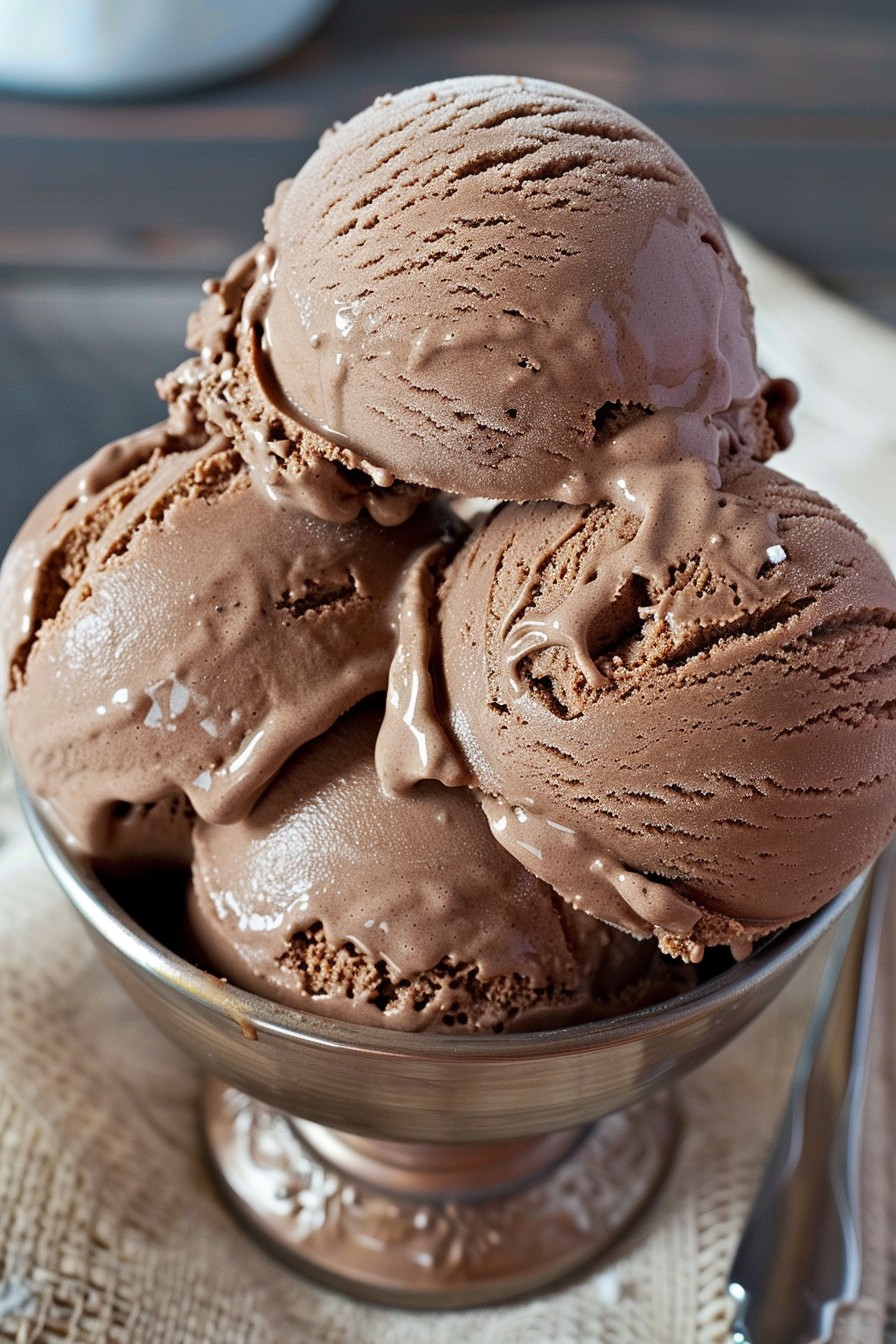
Today is ‘2025-06-20 00:41:29.362589’, and you’re about to embark on a creamy, dreamy chocolate ice cream journey. This recipe is specially crafted for the Ninja Creami, ensuring a smooth, rich texture that’ll make your taste buds dance.
Why This Recipe Works
- Uses high-quality cocoa powder for a deep, chocolatey flavor.
- Incorporates heavy cream and whole milk for the creamiest texture.
- Perfectly balanced sweetness that doesn’t overpower the chocolate.
- Designed specifically for the Ninja Creami, ensuring optimal results.
- Simple ingredients that come together for a gourmet taste.
Ingredients
- 2 cups heavy cream
- 1 cup whole milk
- 3/4 cup granulated sugar
- 1/2 cup unsweetened cocoa powder
- 1 tsp vanilla extract
- 1/4 tsp salt
Equipment Needed
- Ninja Creami
- Mixing bowl
- Whisk
- Measuring cups and spoons
- Rubber spatula
Instructions
Step 1: Mix Your Base
In a large mixing bowl, whisk together the heavy cream, whole milk, granulated sugar, cocoa powder, vanilla extract, and salt until the sugar and cocoa are fully dissolved. This might take a few minutes, but patience here ensures a smooth ice cream base. Tip: Sifting the cocoa powder can help avoid lumps.
Step 2: Chill the Mixture
Pour the mixture into a Ninja Creami pint container, leaving about 1/2 inch of space at the top for expansion. Secure the lid and freeze for 24 hours. This step is crucial for achieving the perfect ice cream consistency.
Step 3: Process in Ninja Creami
After freezing, place the pint into the Ninja Creami and select the ‘Ice Cream’ function. Let the machine work its magic for about 2 minutes. If the ice cream is too crumbly, add a tablespoon of milk and respin. Tip: For extra creaminess, respin once more.
Step 4: Serve Immediately or Freeze
Once processed, the ice cream is ready to enjoy immediately for a soft-serve texture. For a firmer consistency, freeze for an additional 2 hours. Tip: Let it sit at room temperature for 5 minutes before scooping if frozen solid.
Tips and Tricks
For those looking to elevate their chocolate ice cream game, consider these advanced tips. First, using Dutch-processed cocoa powder can give a richer flavor and darker color. Second, adding a pinch of espresso powder can intensify the chocolate taste without making it coffee-flavored. Third, for a smoother texture, you can heat the milk and sugar mixture slightly before adding the cocoa powder, ensuring everything dissolves perfectly. Lastly, experimenting with the fat content by adjusting the ratio of heavy cream to milk can tailor the creaminess to your preference.
Recipe Variations
- Mint Chocolate Chip: Add 1/2 tsp peppermint extract and 1/2 cup mini chocolate chips during the last spin.
- Rocky Road: Mix in 1/2 cup mini marshmallows and 1/2 cup chopped almonds after processing.
- Double Chocolate: Stir in 1/2 cup chocolate chunks or chips for extra chocolatey bites.
- Peanut Butter Swirl: After processing, swirl in 1/4 cup peanut butter for a delicious twist.
Frequently Asked Questions
Can I use low-fat milk instead of whole milk? While you can, the texture won’t be as creamy. Whole milk contributes to the richness and smoothness of the ice cream.
How long can I store the ice cream? Properly stored in an airtight container, it can last up to 2 weeks in the freezer, though it’s best enjoyed within the first week.
Can I make this without a Ninja Creami? This recipe is optimized for the Ninja Creami, but you can try adapting it for other ice cream makers with varying results.
Summary
This chocolate ice cream recipe for the Ninja Creami promises a decadent, creamy treat with minimal effort. Perfect for chocolate lovers looking for a rich, smooth dessert.