
Perfect for those who love the taste of homemade apple crisp but are short on time, this recipe uses apple pie filling as a clever shortcut. Packed with flavor and topped with a crispy, buttery oat topping, it’s a dessert that promises to impress with minimal effort.
Why This Recipe Works
- Using apple pie filling saves prep time without sacrificing flavor.
- The oat and flour topping provides the perfect crunch.
- It’s versatile, allowing for easy customization with different spices or nuts.
- Perfect for any occasion, from weeknight desserts to holiday gatherings.
- It’s a crowd-pleaser that combines simplicity with deliciousness.
Ingredients
- 2 cans (21 oz each) apple pie filling
- 1 cup all-purpose flour
- 1 cup rolled oats
- 3/4 cup packed brown sugar
- 1/2 cup unsalted butter, melted
- 1 tsp ground cinnamon
- 1/4 tsp salt
Equipment Needed
- 9×13 inch baking dish
- Mixing bowls
- Measuring cups and spoons
- Rubber spatula
Instructions
Preheat and Prepare
Preheat your oven to 350°F (175°C). Lightly grease your 9×13 inch baking dish with butter or cooking spray to prevent sticking. This ensures your apple crisp comes out easily after baking.
Layer the Apple Pie Filling
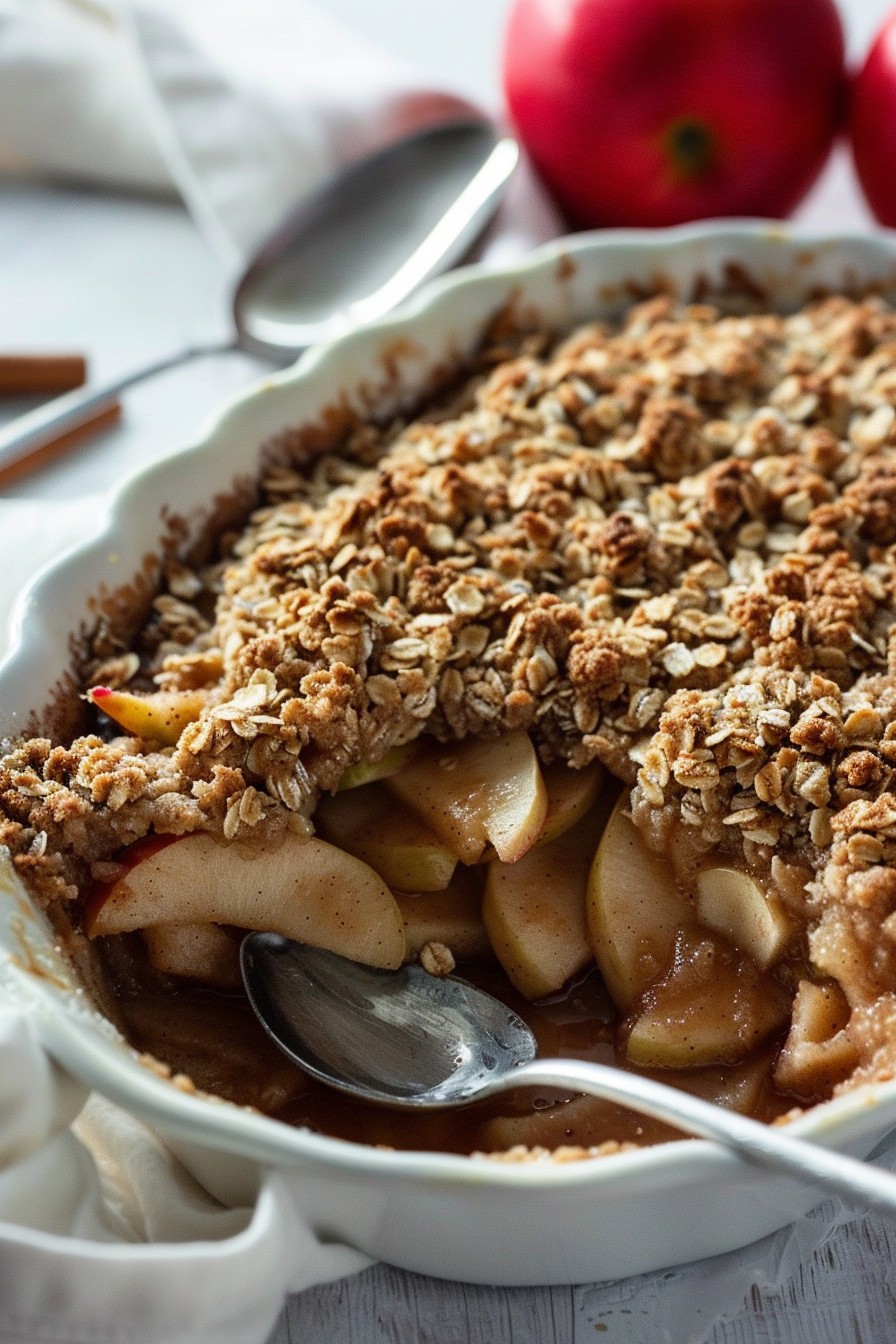
Pour the apple pie filling into the prepared baking dish, spreading it evenly with a rubber spatula. For an extra touch of flavor, sprinkle a little extra cinnamon over the top. This step is all about building that delicious base.
Mix the Topping
In a large mixing bowl, combine the flour, oats, brown sugar, cinnamon, and salt. Stir in the melted butter until the mixture is crumbly. This topping is what gives the crisp its signature texture, so take your time to get it just right.
Add the Topping and Bake
Sprinkle the topping evenly over the apple pie filling. Bake in the preheated oven for 35-40 minutes, or until the topping is golden brown and the filling is bubbly. The aroma filling your kitchen will be your cue that it’s almost time to eat.
Let It Cool
Allow the apple crisp to cool for at least 10 minutes before serving. This rest period lets the filling set, making it easier to serve. Serve warm with a scoop of vanilla ice cream for an extra special treat.
Tips and Tricks
For those looking to elevate their apple crisp game, consider these advanced tips. First, toasting the oats before adding them to the topping can deepen the flavor. Second, adding a handful of chopped nuts to the topping introduces a delightful crunch. Lastly, for a more complex flavor profile, mix a pinch of nutmeg or allspice into the apple pie filling before baking.
Recipe Variations
- Add a cup of fresh or frozen berries to the apple pie filling for a mixed fruit version.
- Swap out half of the flour in the topping for almond flour for a nuttier taste.
- Include a tablespoon of lemon zest in the filling for a bright, citrusy note.
- Top the baked crisp with a caramel drizzle before serving for extra decadence.
- Use gluten-free flour and oats to make this recipe gluten-free.
Frequently Asked Questions
Can I use homemade apple pie filling?
Absolutely! If you have homemade apple pie filling, feel free to use it in place of the canned version. Just ensure it’s thick enough to hold up under the topping during baking.
How do I store leftovers?
Store any leftovers in an airtight container in the refrigerator for up to 3 days. Reheat in the oven or microwave before serving to bring back that fresh-from-the-oven taste.
Can I make this recipe ahead of time?
Yes, you can assemble the apple crisp a day in advance and refrigerate it overnight. Just add a few extra minutes to the baking time if you’re starting from cold.
Summary
This easy apple crisp recipe using apple pie filling is a testament to the beauty of shortcuts in baking. With minimal prep and maximum flavor, it’s a dessert that’s sure to become a staple in your recipe collection.