
You’re in for a treat with this ultimate dessert tart recipe that’s bound to impress. Whether you’re a baking novice or a seasoned pro, this guide will walk you through creating a masterpiece that’s as delightful to look at as it is to eat.
Why This Recipe Works
- The buttery crust provides the perfect crunchy foundation, contrasting beautifully with the creamy filling.
- Using fresh, high-quality ingredients ensures a rich and vibrant flavor profile that’s unmatched.
- The step-by-step instructions guarantee success, making this recipe foolproof for bakers of all levels.
Ingredients
- 1 1/2 cups all-purpose flour
- 1/2 cup unsalted butter, chilled and diced
- 1/4 cup granulated sugar
- 1 large egg yolk
- 2 tbsp ice water
- 1 cup heavy cream
- 8 oz cream cheese, softened
- 1/2 cup powdered sugar
- 1 tsp vanilla extract
- Assorted fresh fruits for topping
Equipment Needed
- 9-inch tart pan with removable bottom
- Food processor
- Mixing bowls
- Electric mixer
- Plastic wrap
- Rolling pin
Instructions
Prepare the Crust
Start by pulsing the flour, butter, and granulated sugar in a food processor until the mixture resembles coarse crumbs. Add the egg yolk and ice water, pulsing until the dough comes together. Wrap in plastic and chill for 30 minutes. Roll out the dough on a floured surface, then press into the tart pan. Bake at 375°F for 15 minutes or until golden. Tip: Chilling the dough prevents shrinkage during baking.
Make the Filling
Beat the cream cheese until smooth, then gradually add the powdered sugar and vanilla extract. In a separate bowl, whip the heavy cream to stiff peaks, then fold into the cream cheese mixture until well combined. Tip: Ensure the cream cheese is at room temperature for a smoother filling.
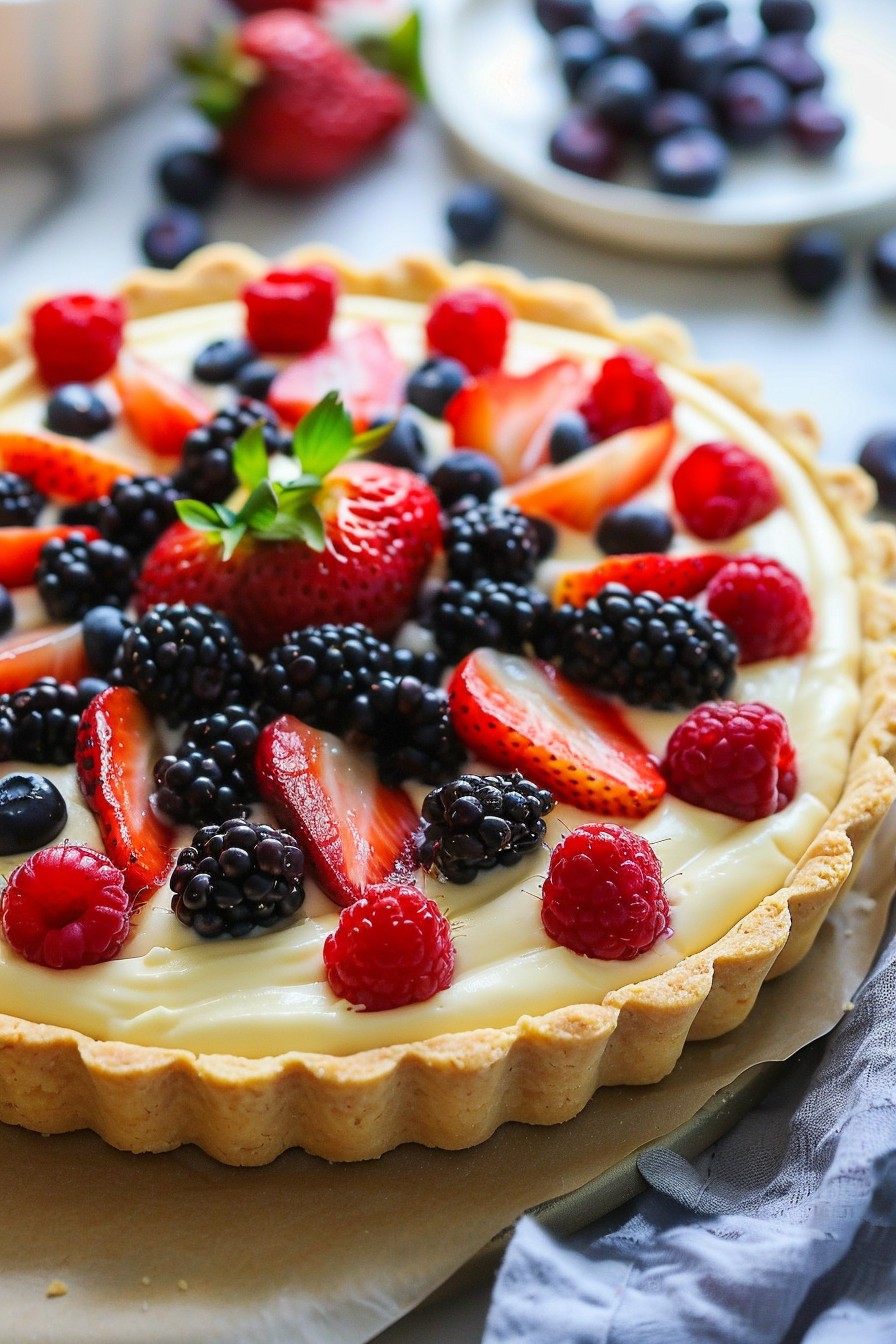
Assemble the Tart
Spread the filling evenly over the cooled crust. Arrange your choice of fresh fruits on top in a decorative pattern. Chill the tart for at least 2 hours before serving to allow the filling to set. Tip: Use a variety of fruits for a colorful and flavorful topping.
Tips and Tricks
For an extra glossy finish, brush the fruit with a thin layer of apricot jam mixed with a little water. If you’re short on time, a pre-made crust can be a quick alternative, though homemade is always best for flavor. Experiment with different extracts, like almond or lemon, to customize the filling’s flavor. Remember, the key to a perfect tart is patience, especially when chilling the dough and the assembled tart.
Recipe Variations
- Chocolate Lover’s Tart: Add melted chocolate to the filling and top with chocolate shavings.
- Berry Bliss: Use a mix of berries for the topping and add a berry compote layer under the filling.
- Tropical Twist: Top with mango, kiwi, and pineapple for a sunny flavor.
- Nutty Delight: Incorporate finely chopped nuts into the crust for added texture.
Frequently Asked Questions
Can I make this tart ahead of time?
Absolutely! The tart can be assembled and stored in the refrigerator up to 2 days in advance. Just add the fresh fruit topping right before serving to maintain its freshness and vibrancy.
What’s the best way to slice the tart?
For clean slices, dip a sharp knife in hot water and wipe it dry between cuts. This method ensures smooth, neat slices every time.
Can I freeze the tart?
While the crust and filling can be frozen separately, it’s best to assemble and add fresh toppings after thawing to prevent sogginess and maintain texture.
Summary
This dessert tart recipe is a showstopper, combining a buttery crust with a creamy filling and fresh fruit topping. Perfect for any occasion, it’s as fun to make as it is to eat. Follow these steps and tips for a foolproof baking experience.